(Posted 9 March 2024) One of my long term goals has been to get into astrophotography. I have spent a large sum of money on multiple telescopes with this in mind. I don’t have anywhere to set up these telescopes permenantly and so they are largely unused. There is also a big learning curve in astrophotography. Once an image is ‘captured’, it then has to be modified so it either looks nice or is otherwise useful. Another reason why I haven’t got into astrophotography. My work as a school teacher leaves me very short of personal time.
So when I read about a telescope that can be used to take images of the night and day sky, I was a little sceptical. It also apparently tracked objects in the night sky, processed the images automatically and even included a solar filter! Still multiple reviews seemed to back up what the SeeStar S50 advertising said it could do. I crossed my fingers, reached for my credit card and paid approximatly $950 (plus freight) and waited.
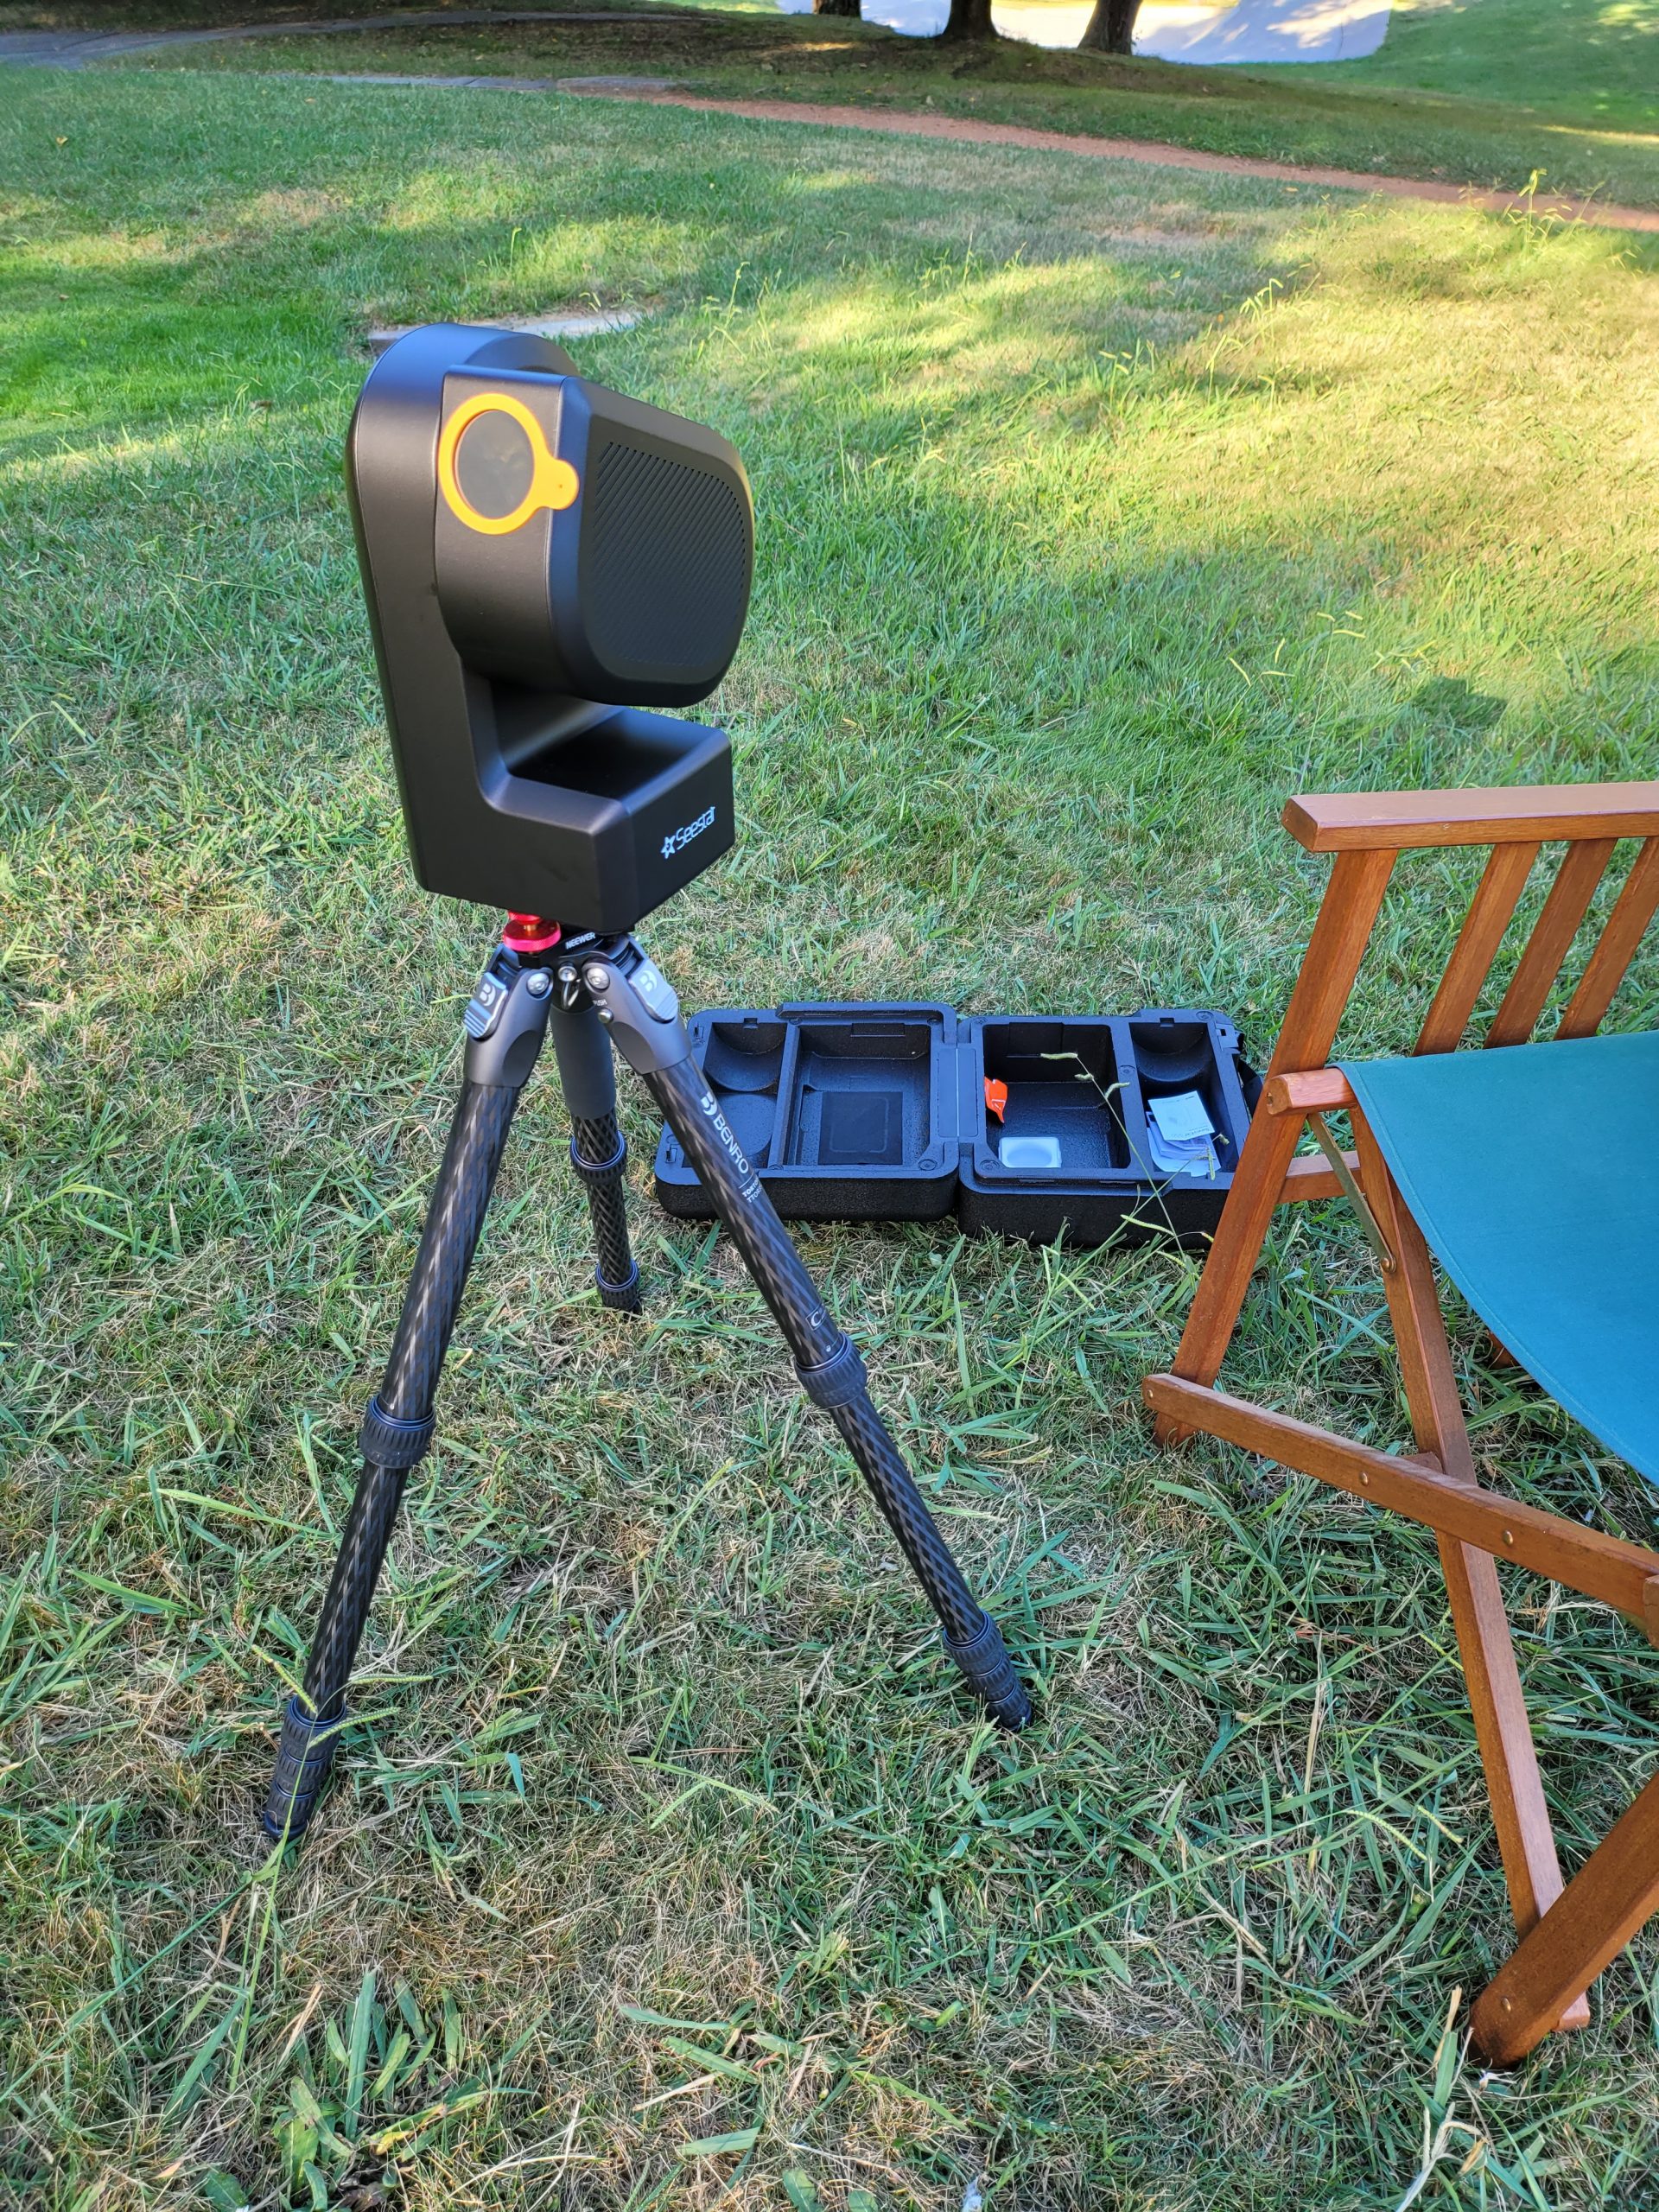
After a five week wait (caused by the popularity of the telescope), my SeeStar arrived. First impressions was how small it was! Second impression is that it doesn’t look like a telescope powered off. I still had my fingers crossed as the telescope seemed too good to be true. As an aside, the small size of the telescope even has me considering taking it on international holidays to the Northern hemisphere!
First impressions were not positive! Basically I couldn’t get it to point at the Sun. It turns out that it really helps if you read the instructions and play with the app! This included the fact that I didn’t know about using the app to level the telescope. You also need to rotate the telescope manually so the inbuilt compass can sense your local magnetic field.
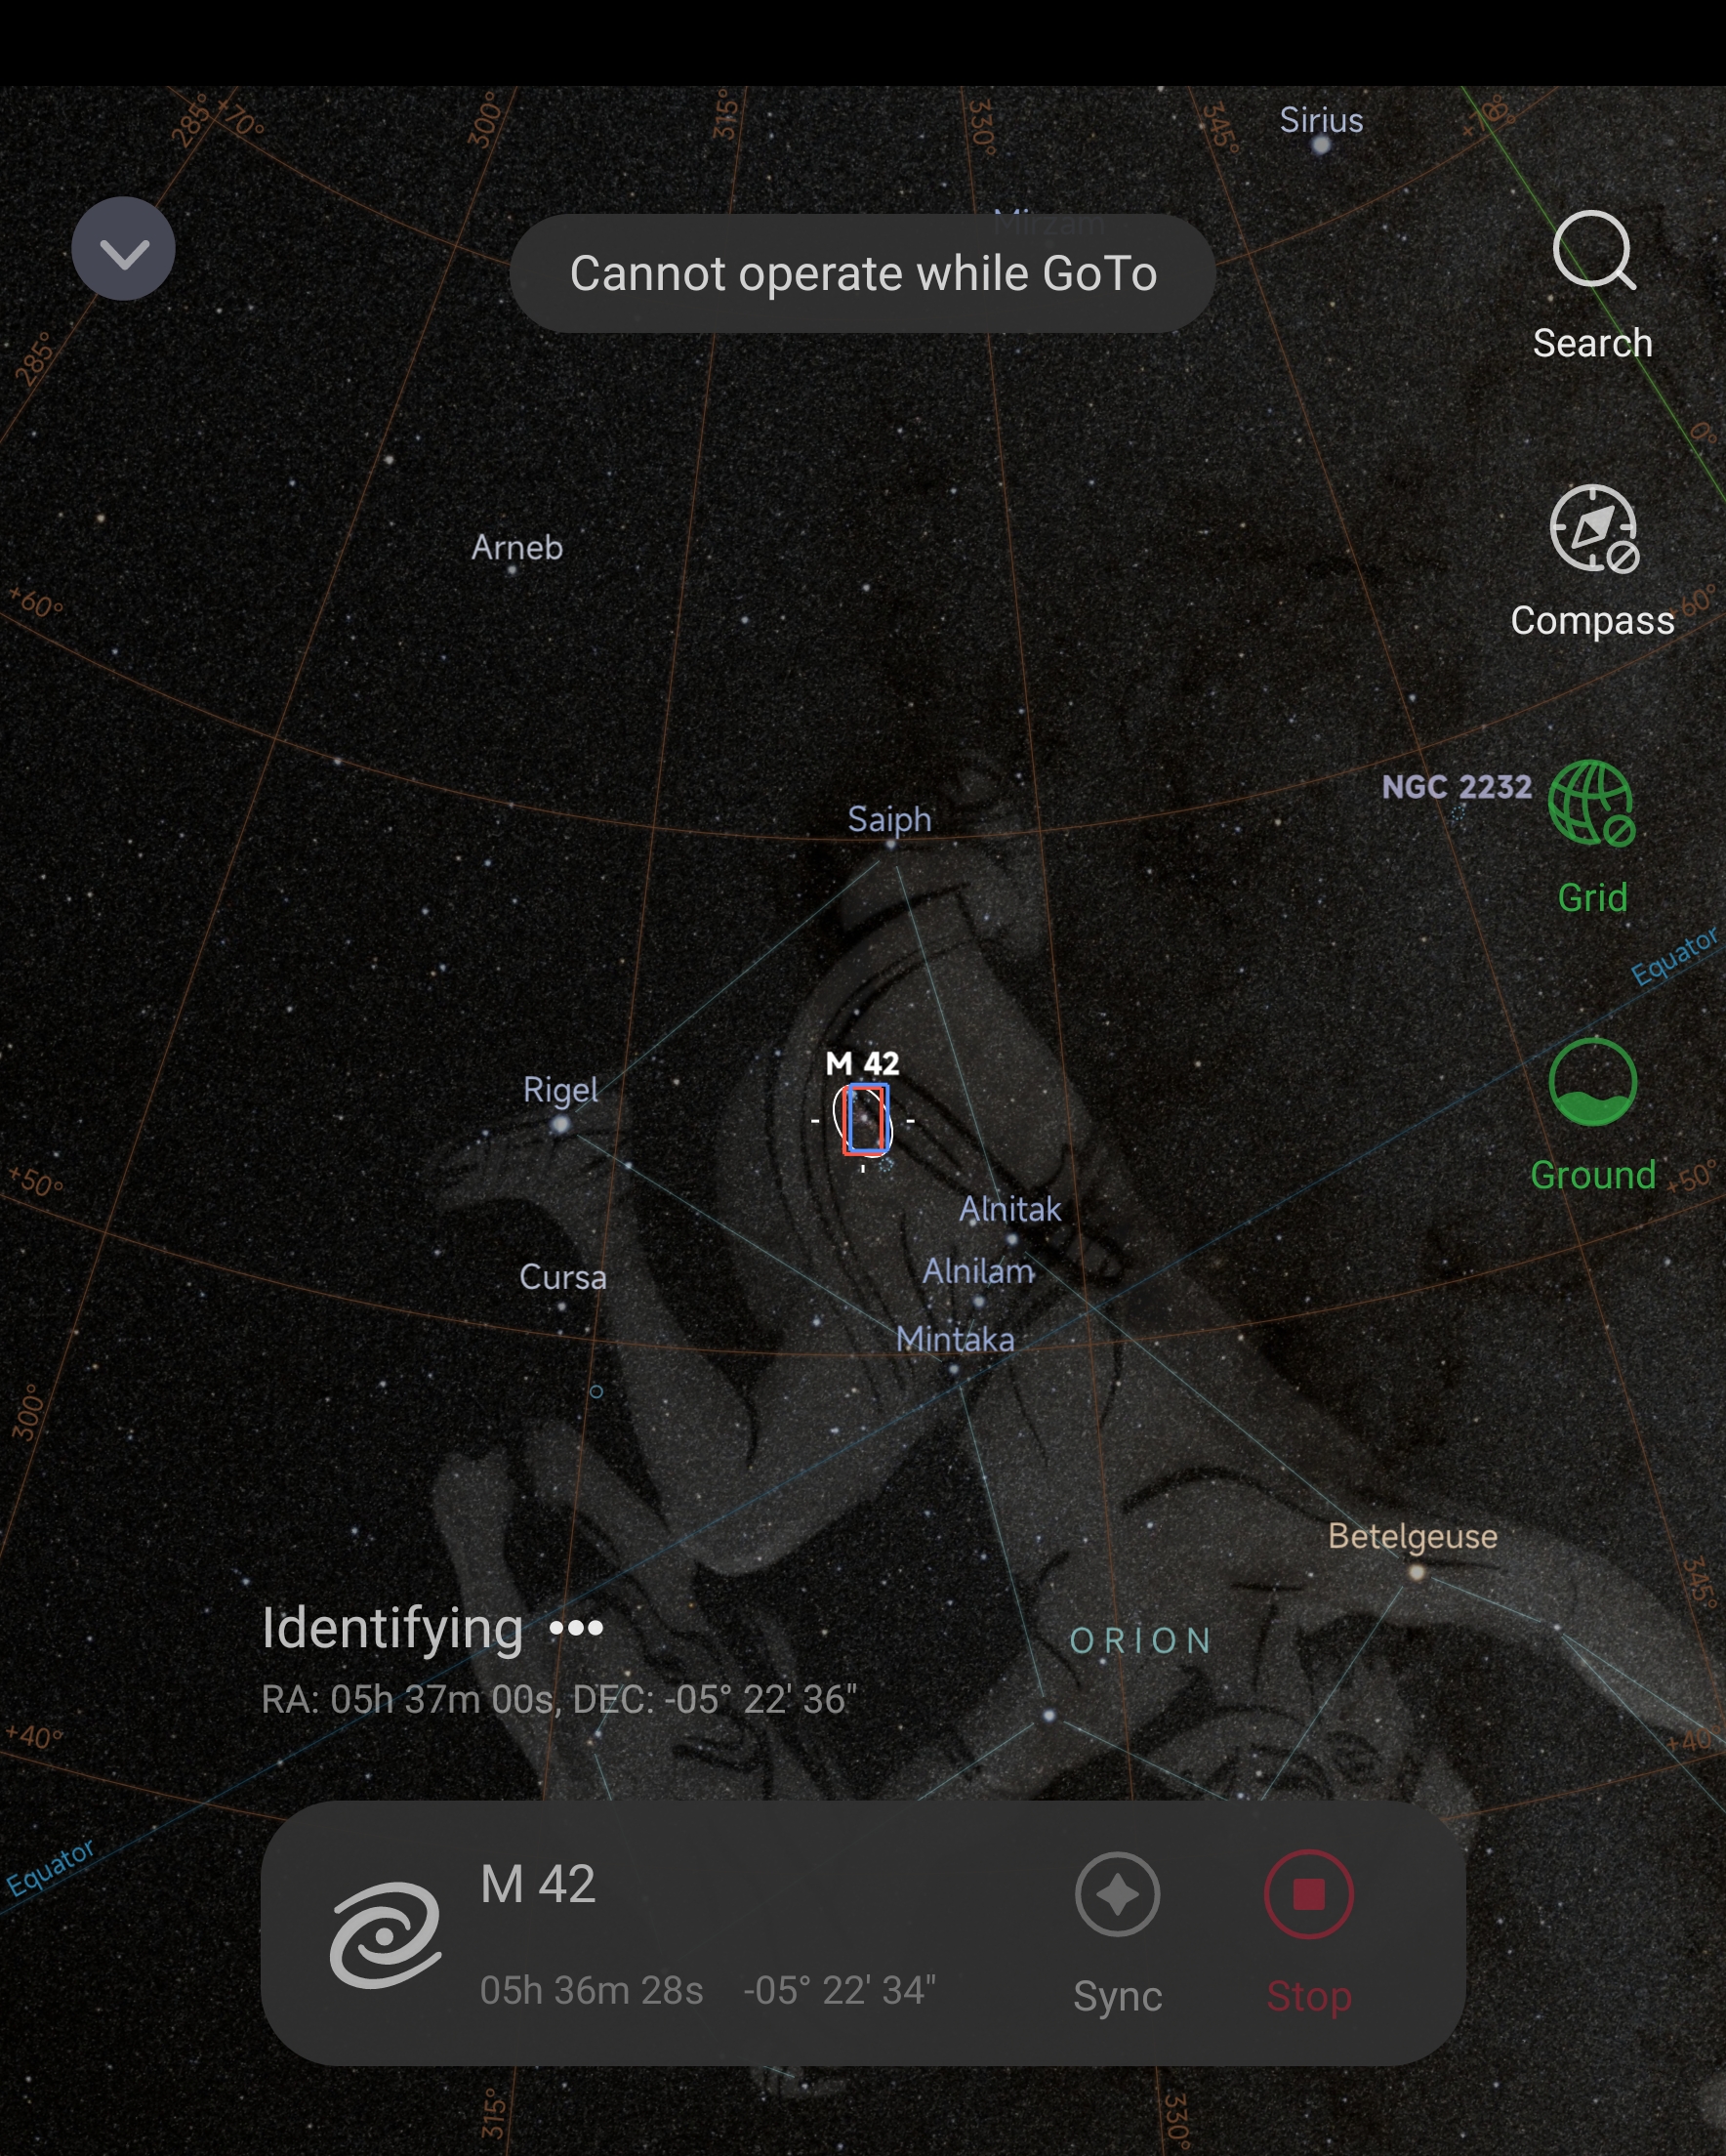
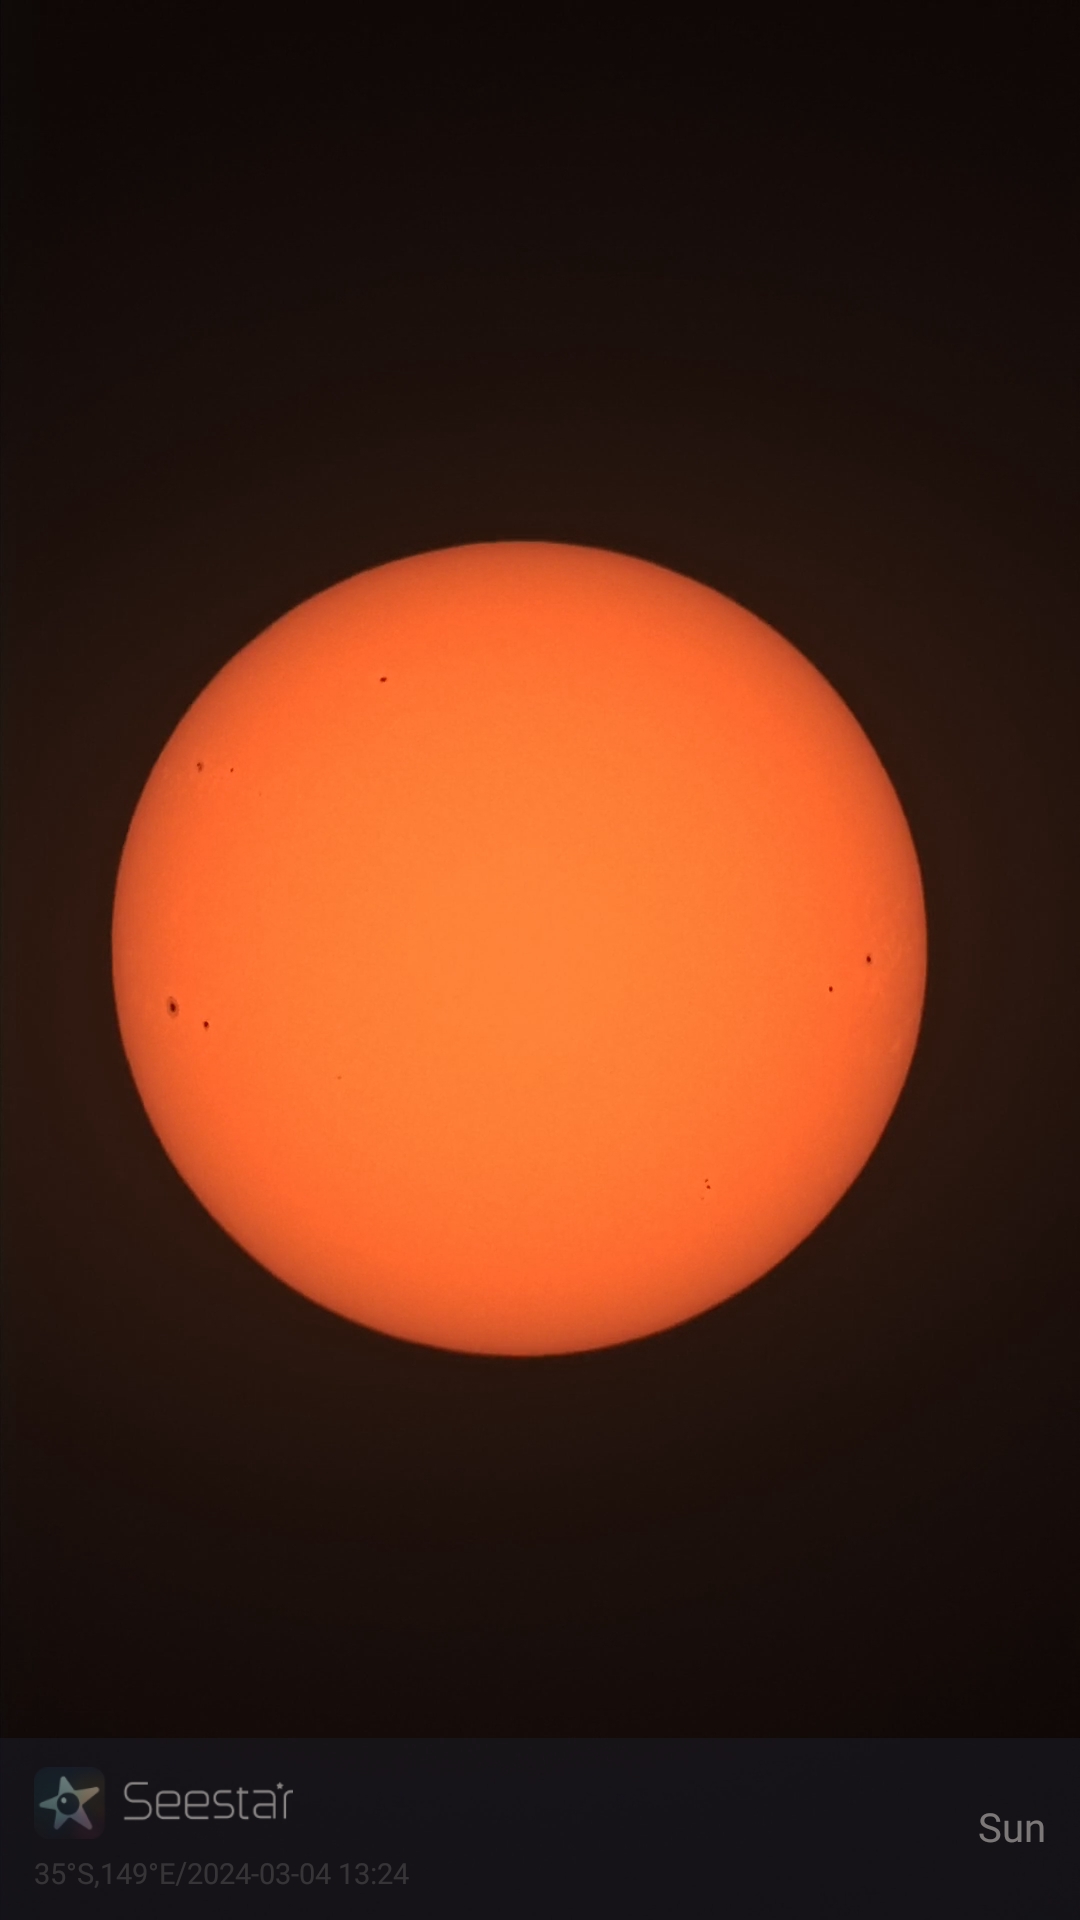
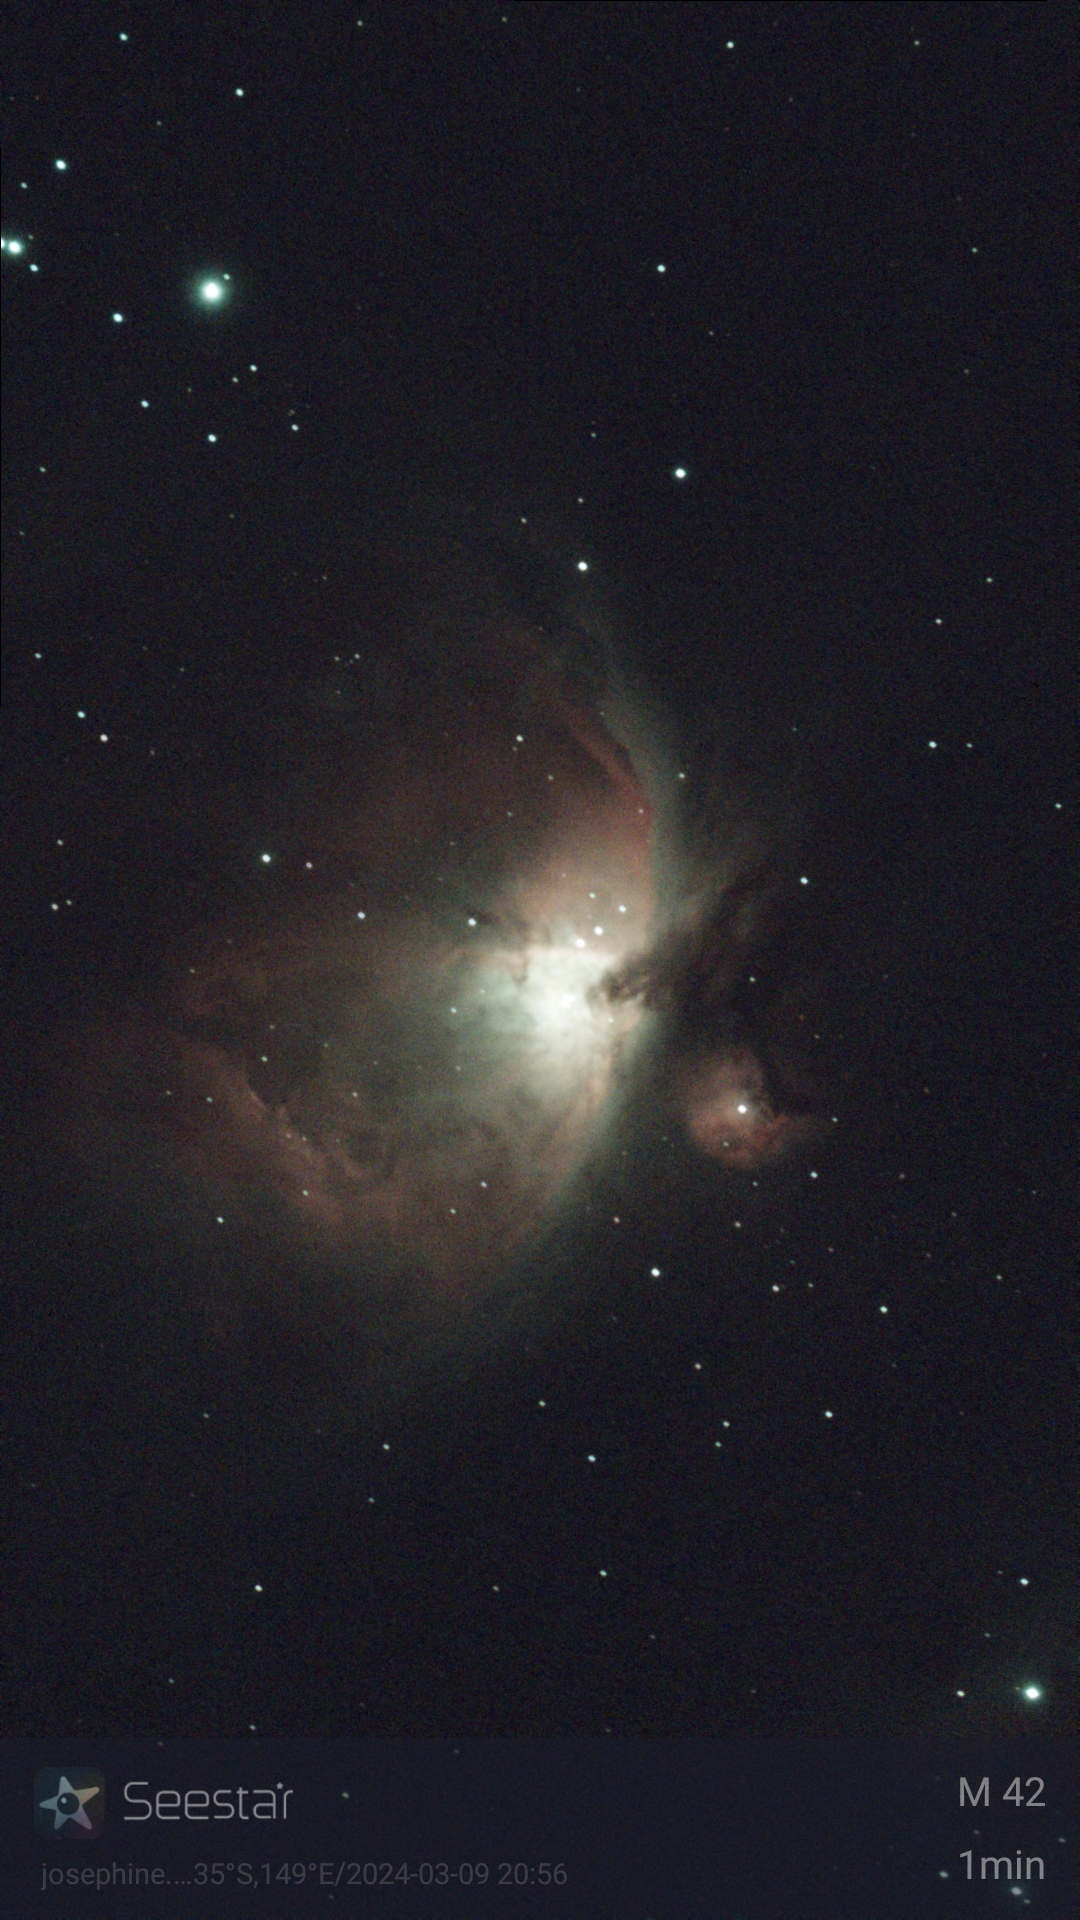
After doing those steps, I started having lots of success with the telescope. This included some great Sun images and the below Orion Nebula image. My jaw dropped as I watched the below image build up on the screen of my phone! I ended up having to retreat inside because of mosquitos so I only ended up imaging two evening objects. The M41 open cluster was the other object.
My next step is to work out what I want to image next. The small size of the telescope optics (a 50 mm lens diameter) will place limits on how faint it can image. It will be fun to see what I can capture! I already have my fingers crossed the manufactuer will make a larger version of this telescope!
For those interested in finding out more about the telescope, there are starting to be lots of reviews appearing online. This review is a good starting point in your reading.